I’m a lover of all things cloth. There is just something so luxurious about using cloth napkins and cloth paper towels. We also love cloth diapers. There’s just something about using the “real thing” as opposed to something made to be thrown away.
I also can’t stand the thought of buying something specifically to throw it away. I can honestly say that since I left home at almost 19 years old, I have only purchased paper plates, cups, napkins, or paper towels a handful of times. It’s just so easy to wash cloth napkins or real plates, even without a dishwasher. The cost of disposable is just not worth it to me.
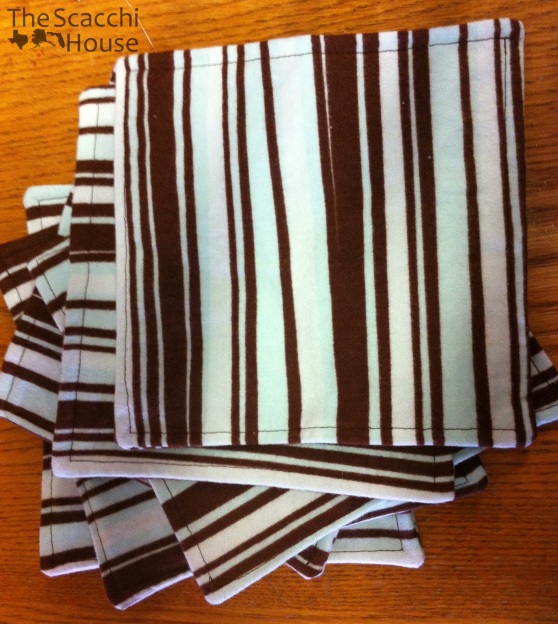
If you love cloth like I do, or you want to start a cloth collection, why not start with some easy-to-sew cloth paper towels. I love these towels because they are the perfect size for wiping up messes and little faces and hands. I can wipe up a spill and toss it in the washer with the rest of my laundry and not feel guilty about it.
These towels are incredibly simple and would be a great starter project if you are just learning to sew. The best thing about the project is that it’s OKAY if they’re not perfect, they’re just for wiping up messes. I whip these up fast, usually with my little helper in my lap, so sometimes my seams are not perfect. I’m okay with that.
So what do you need for this project? You really only need two things (other than a sewing machine and the basics like scissors), at least one yard of flannel fabric and coordinating thread. Check out the remnant bin at your local fabric store. I can usually find full yards of flannel (if you’re not picky about the pattern) for only a few dollars. Remember, the remnants are already 50% off, but they might already be on sale. I regularly find fabrics that are on sale 50% off, then I get an additional 50% off because it’s a remnant. Score!
To start, lay out your fabric and decide how big you want your towels. My towels are approximately 10″ squares finished, so I cut 11″ squares out of my fabric. You will need a front and a back, so just continue cutting squares in even numbers until you run out of fabric. You can cut them to any size you would like. Feel free to use a quilter’s square if you have one. I used a square cookbook I had from the library, then just used the previous square to cut the next.
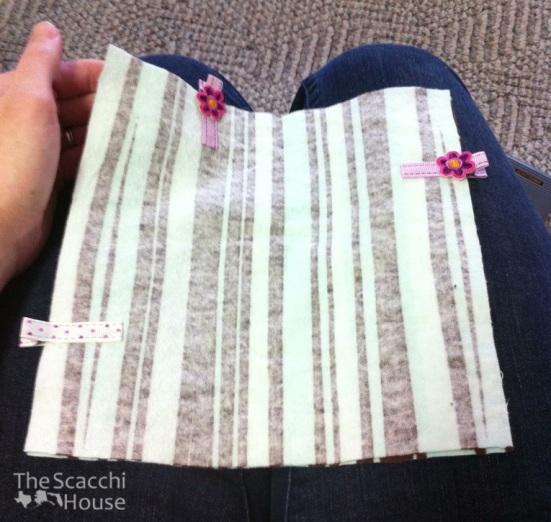
You will notice that my sewing pins look a little fishy. Yes, they are Ava’s hair clips. For some reason, my sewing pins were MIA so I had to improvise. These flat hair clips actually work great if you are in a bind. Use what you’ve got, right?
Once you have all of your squares cut, pin (or hair clip in my case) two pieces, right sides together. If your fabric has a pattern like mine does, you will want to make sure that everything is running the same direction.
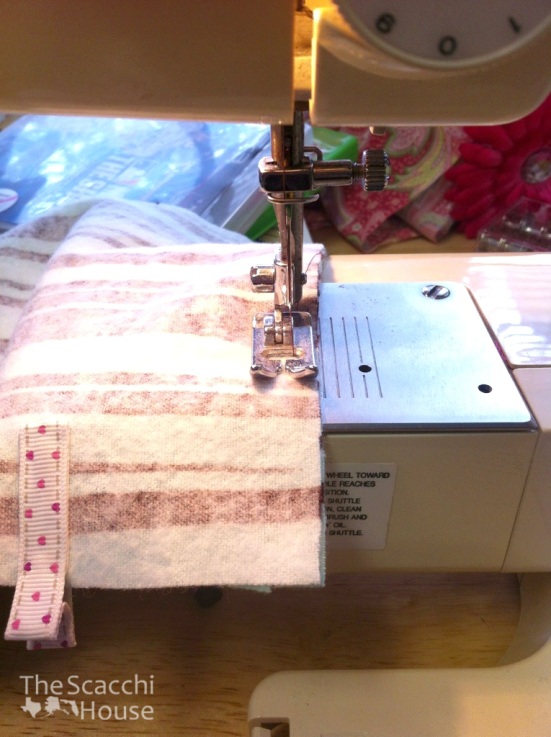
Begin sewing on the lower third part of one side. Remember to back-stitch at the beginning and end. Continue sewing around the entire square. When you get back to the side where you began, sew the top 1/3 of the side and back stitch.
This will leave you with a hole a few inches long. This is how you will flip your work.
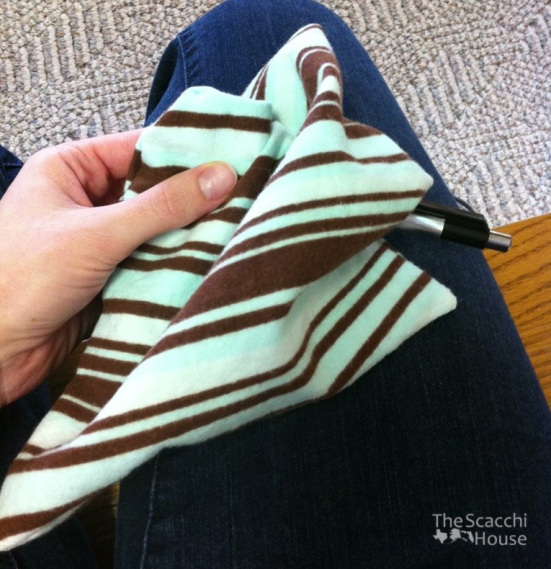
Flip your work right side out. Use a pen or a seam ripper to poke out your corners.
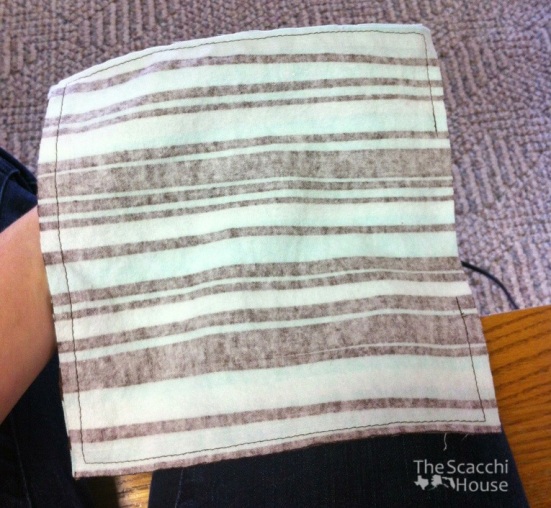
You will end up with three finished sides and your opening on one end.

Tuck your open end in and pin (or clip). Beginning in one corner, sew around the entire towel approximately 1/4″ from the edge. This will close up your opening and create a finished look for the entire towel. You could even get fancy with some decorative stitching!
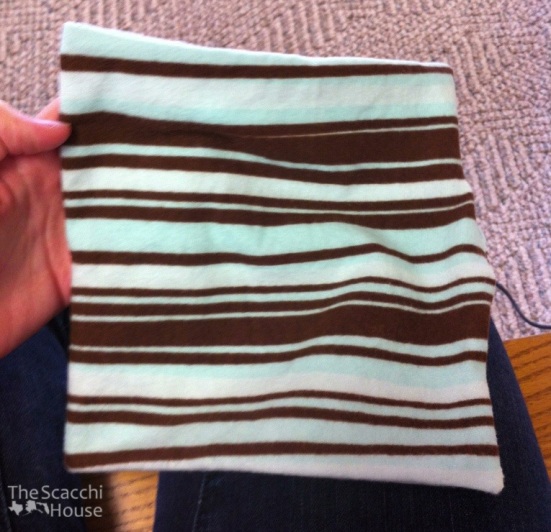
Your first towel is finished! Once you get in a groove, these will sew up really fast. I have a set of 12 and will probably sew up another set if when I find another print I love.
Have fun!